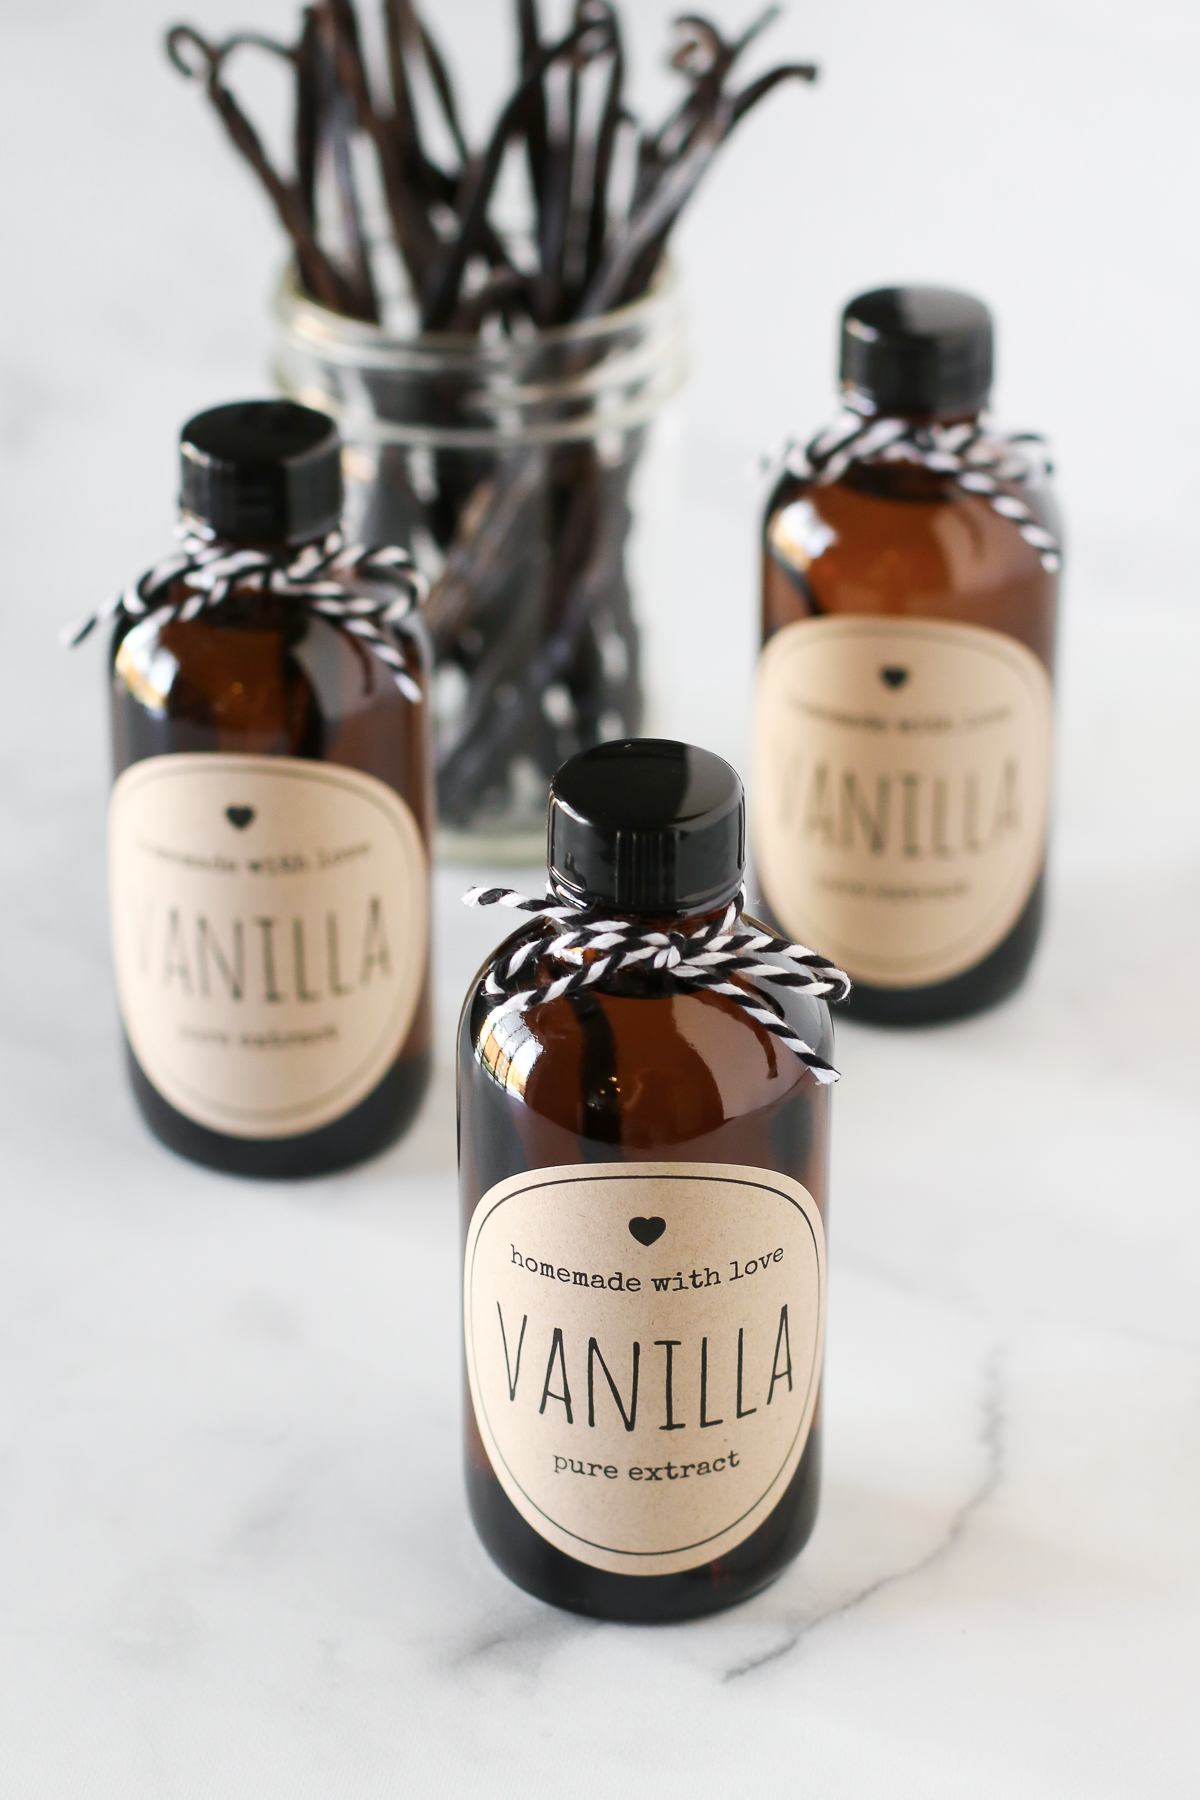
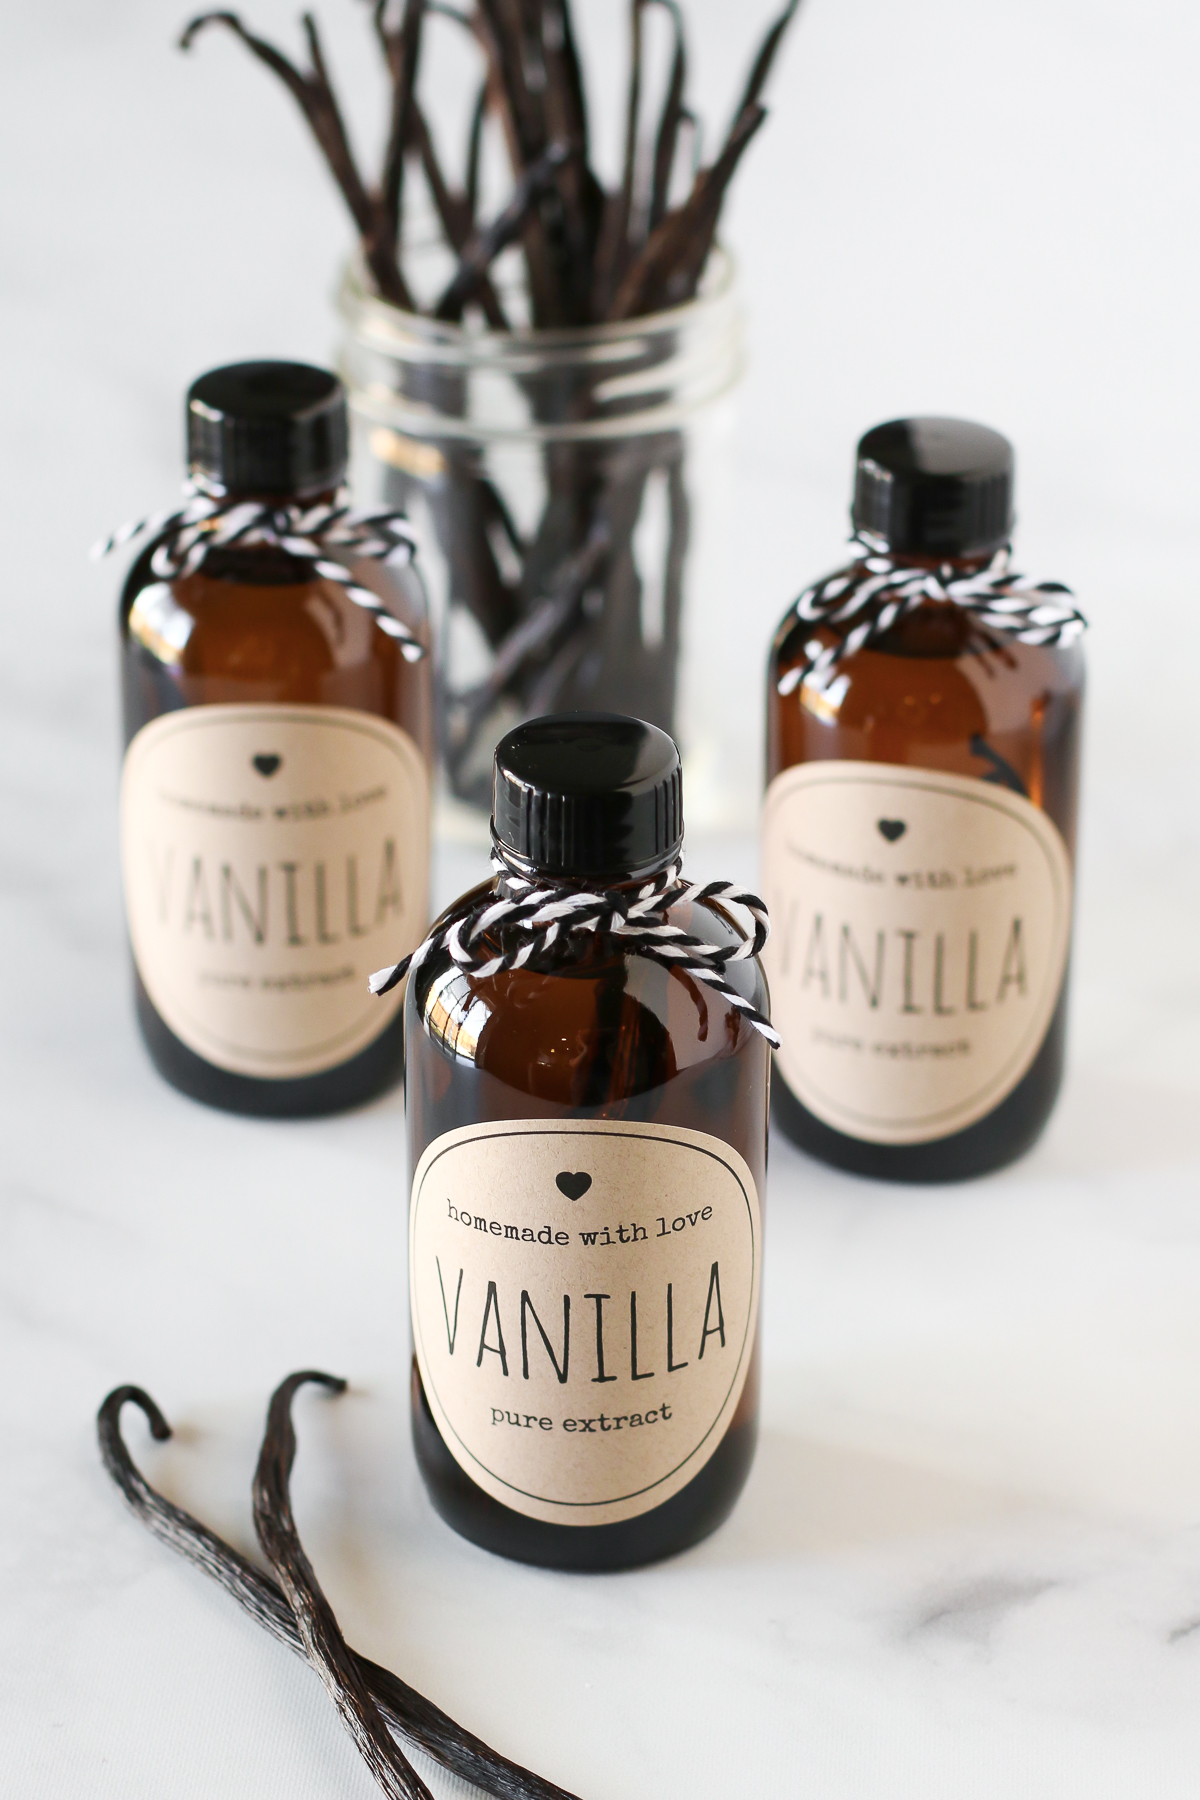
 Friends, have you ever made homemade vanilla extract? I’m here to show you just how easy it is to make these adorable bottles of pure vanilla extract!
Buying store-bought vanilla extract can be crazy expensive. As a baker, it’s something I just can’t live without. So expensive or not, it’s a must. Did you know that all vanilla extract is made from only 2 ingredients? Just vanilla beans and alcohol, usually vodka or bourbon. Yeah, it’s pretty simple, which makes it incredibly easy to make yourself. With just a few steps, you can make vanilla extract for all of your baking needs and as gifts for friends too.
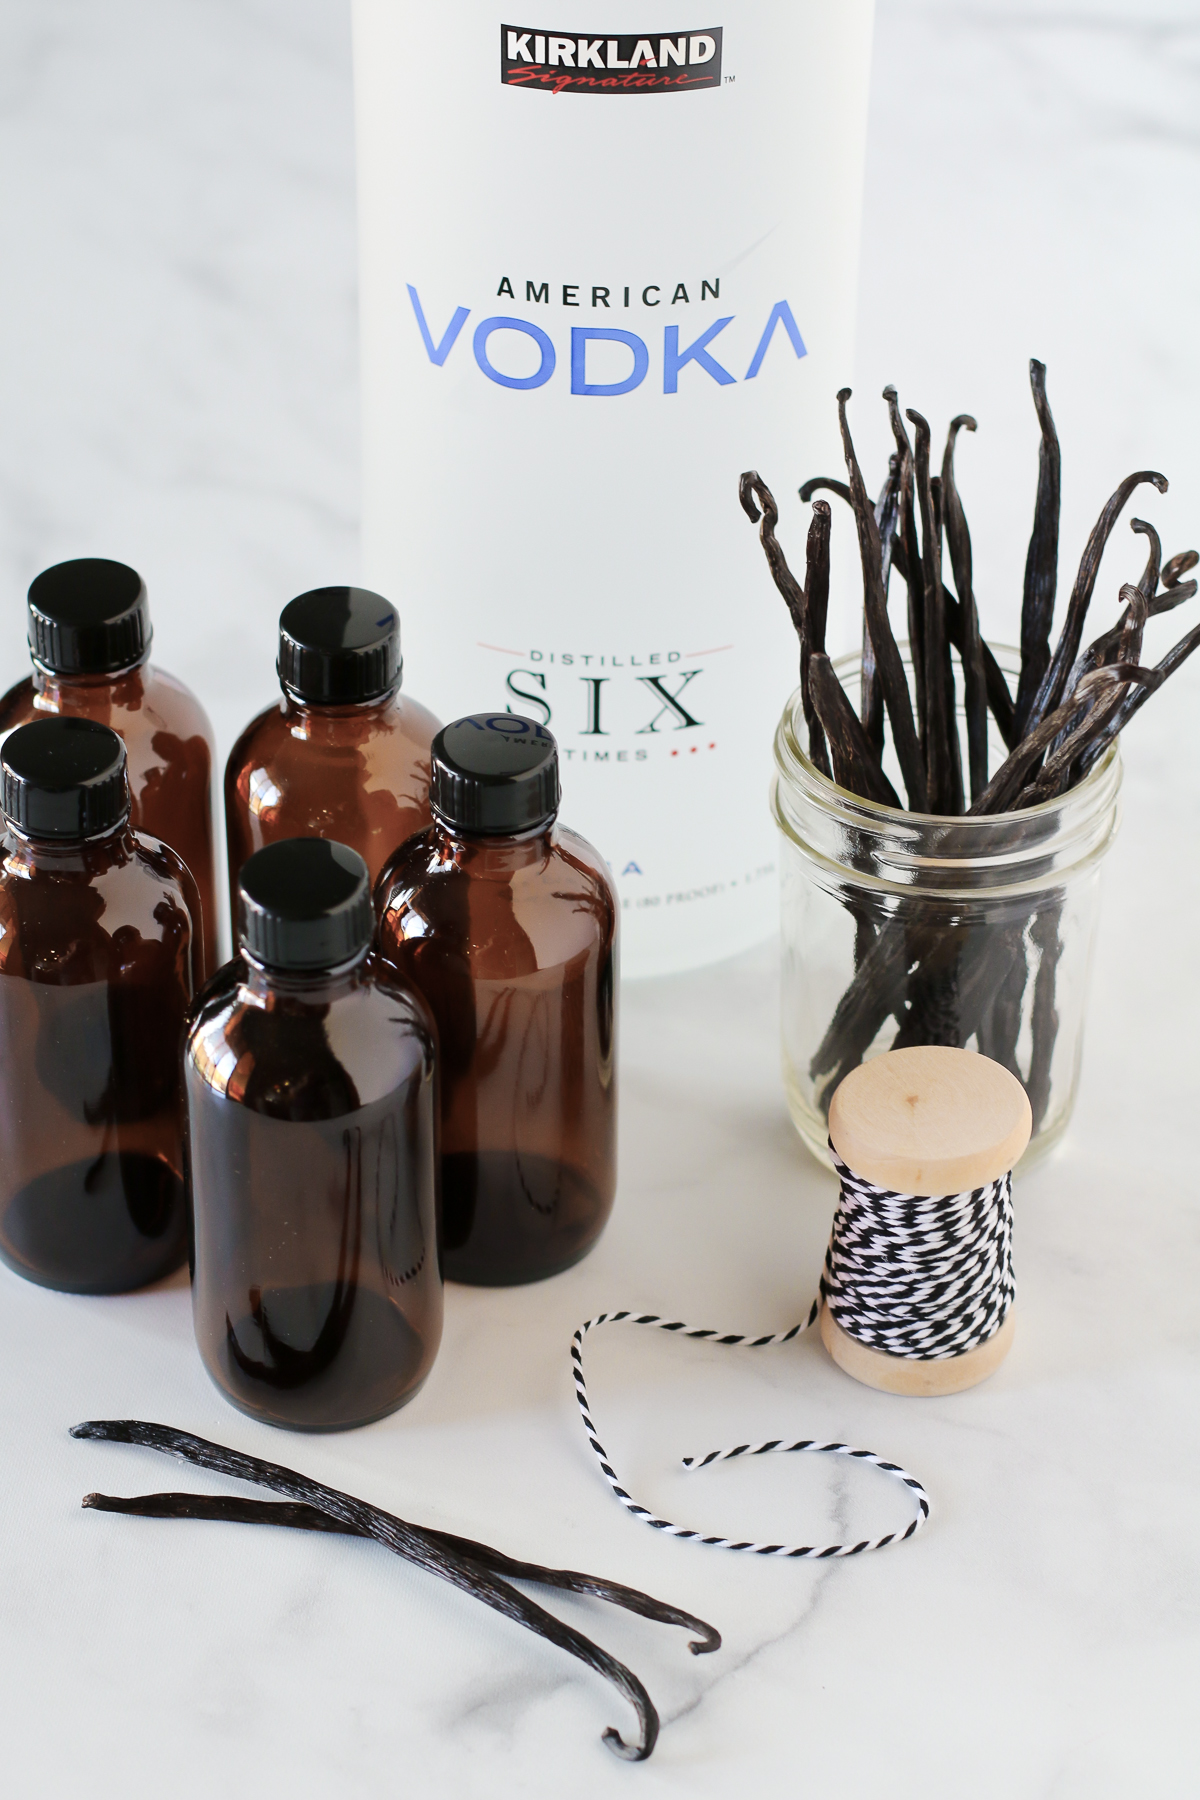 With the holidays coming, this is the perfect time to make these super cute bottles of homemade vanilla extract. Before you get started, you will need to gather up a few supplies. The instructions below is for making 12 4-ounce bottles of vanilla extract. I actually doubled the recipe and made 24 bottles. I have a lot of people I want to bless with homemade vanilla goodness!
supplies you will need for homemade vanilla extract:
1.75 liters Vodka {best prices are at Costco!}
12 vanilla beans {grade B works great for making extracts and is less expensive}
12 4-ounce amber glass round bottles with caps
2 1/2-inch round printable labels {I prefer the brown kraft paper}
bakers twine {sometimes you can find it in the dollar bins at Target}
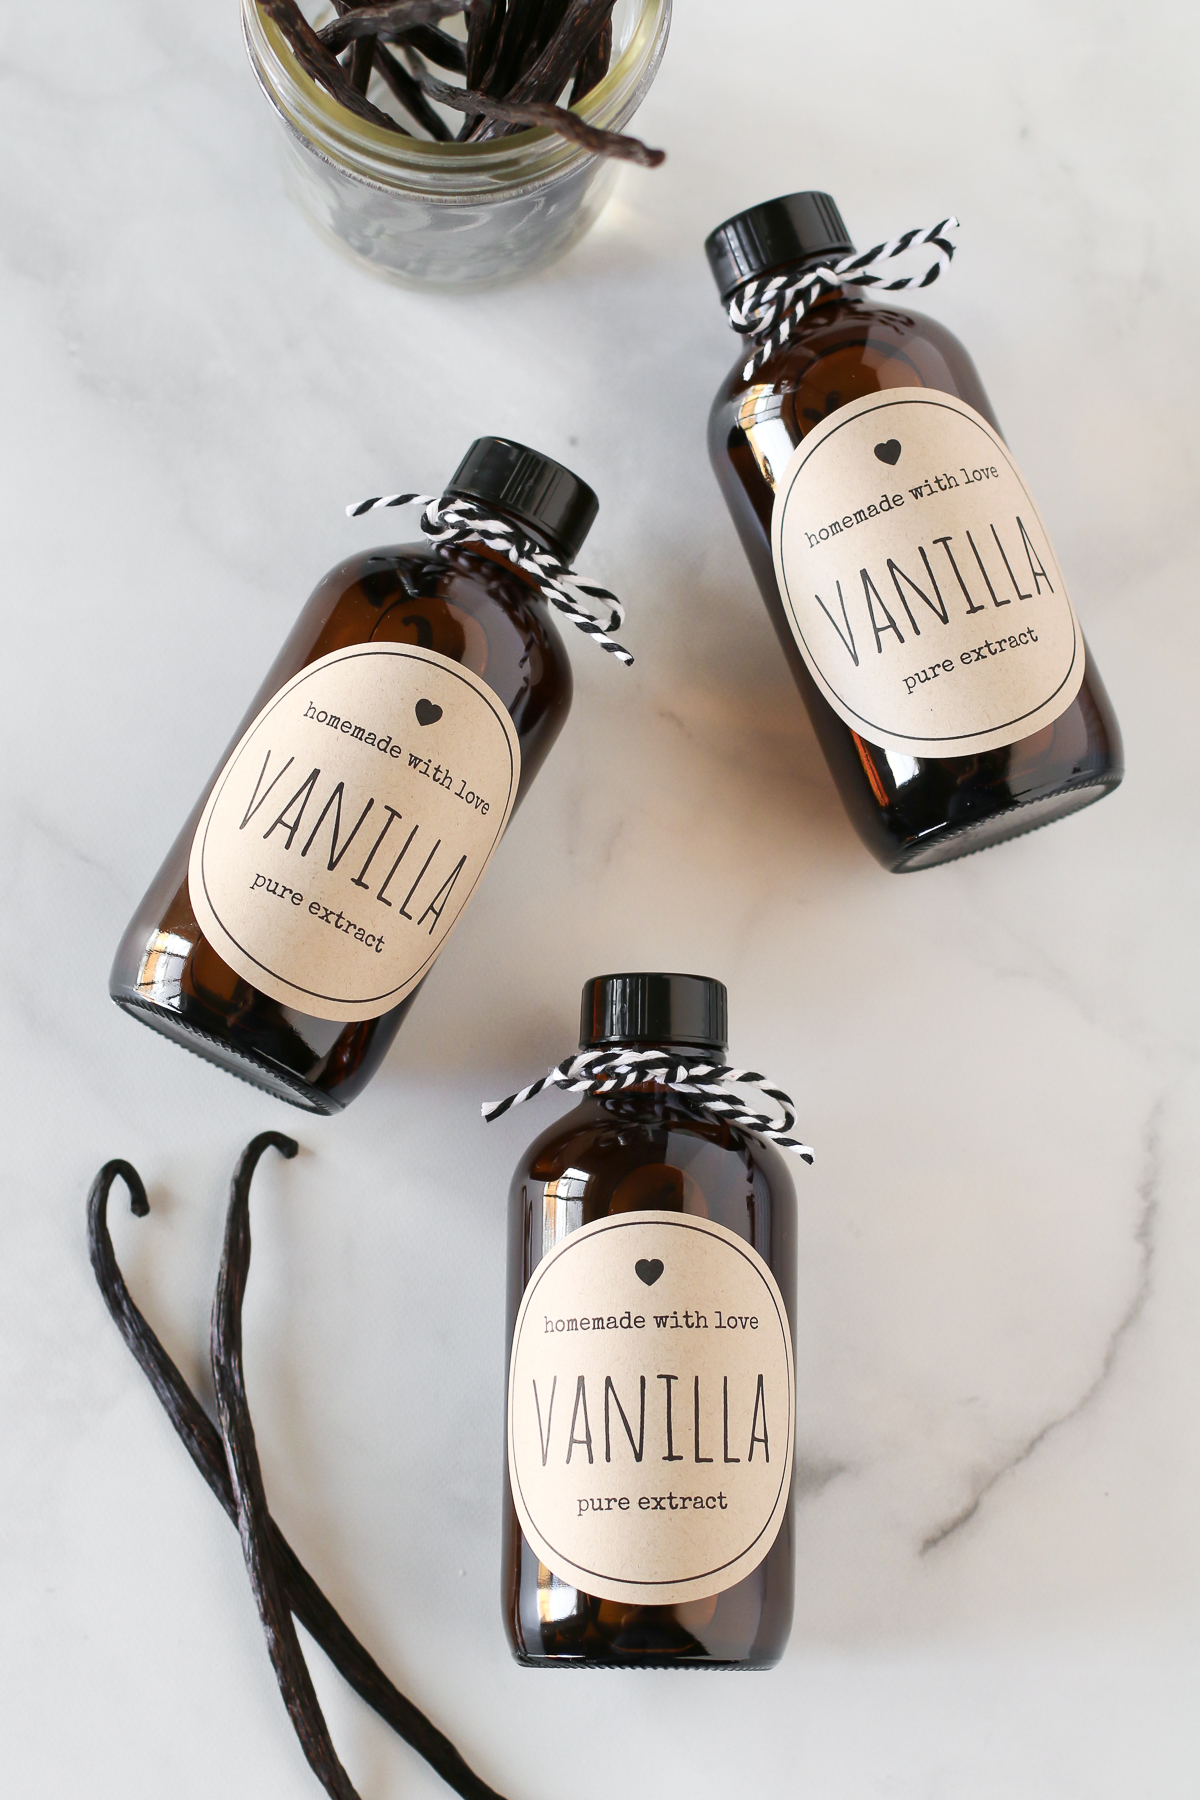 Once the vanilla is made, it will have to be left to set. No rushing that amazing, deep vanilla flavor! The vanilla beans have to steep in the vodka, releasing all of that vanilla goodness. The vanilla extract will be ready to use in about 8 weeks. Every few weeks, you should shake the bottle to disperse the flavors. The vodka will eventually turn a dark amber color.
Want to know something super cool? Once you’ve used all the vanilla, you can actually add more vodka to the bottle and the vanilla bean will continue to do it’s magic! A gift that keeps on giving.
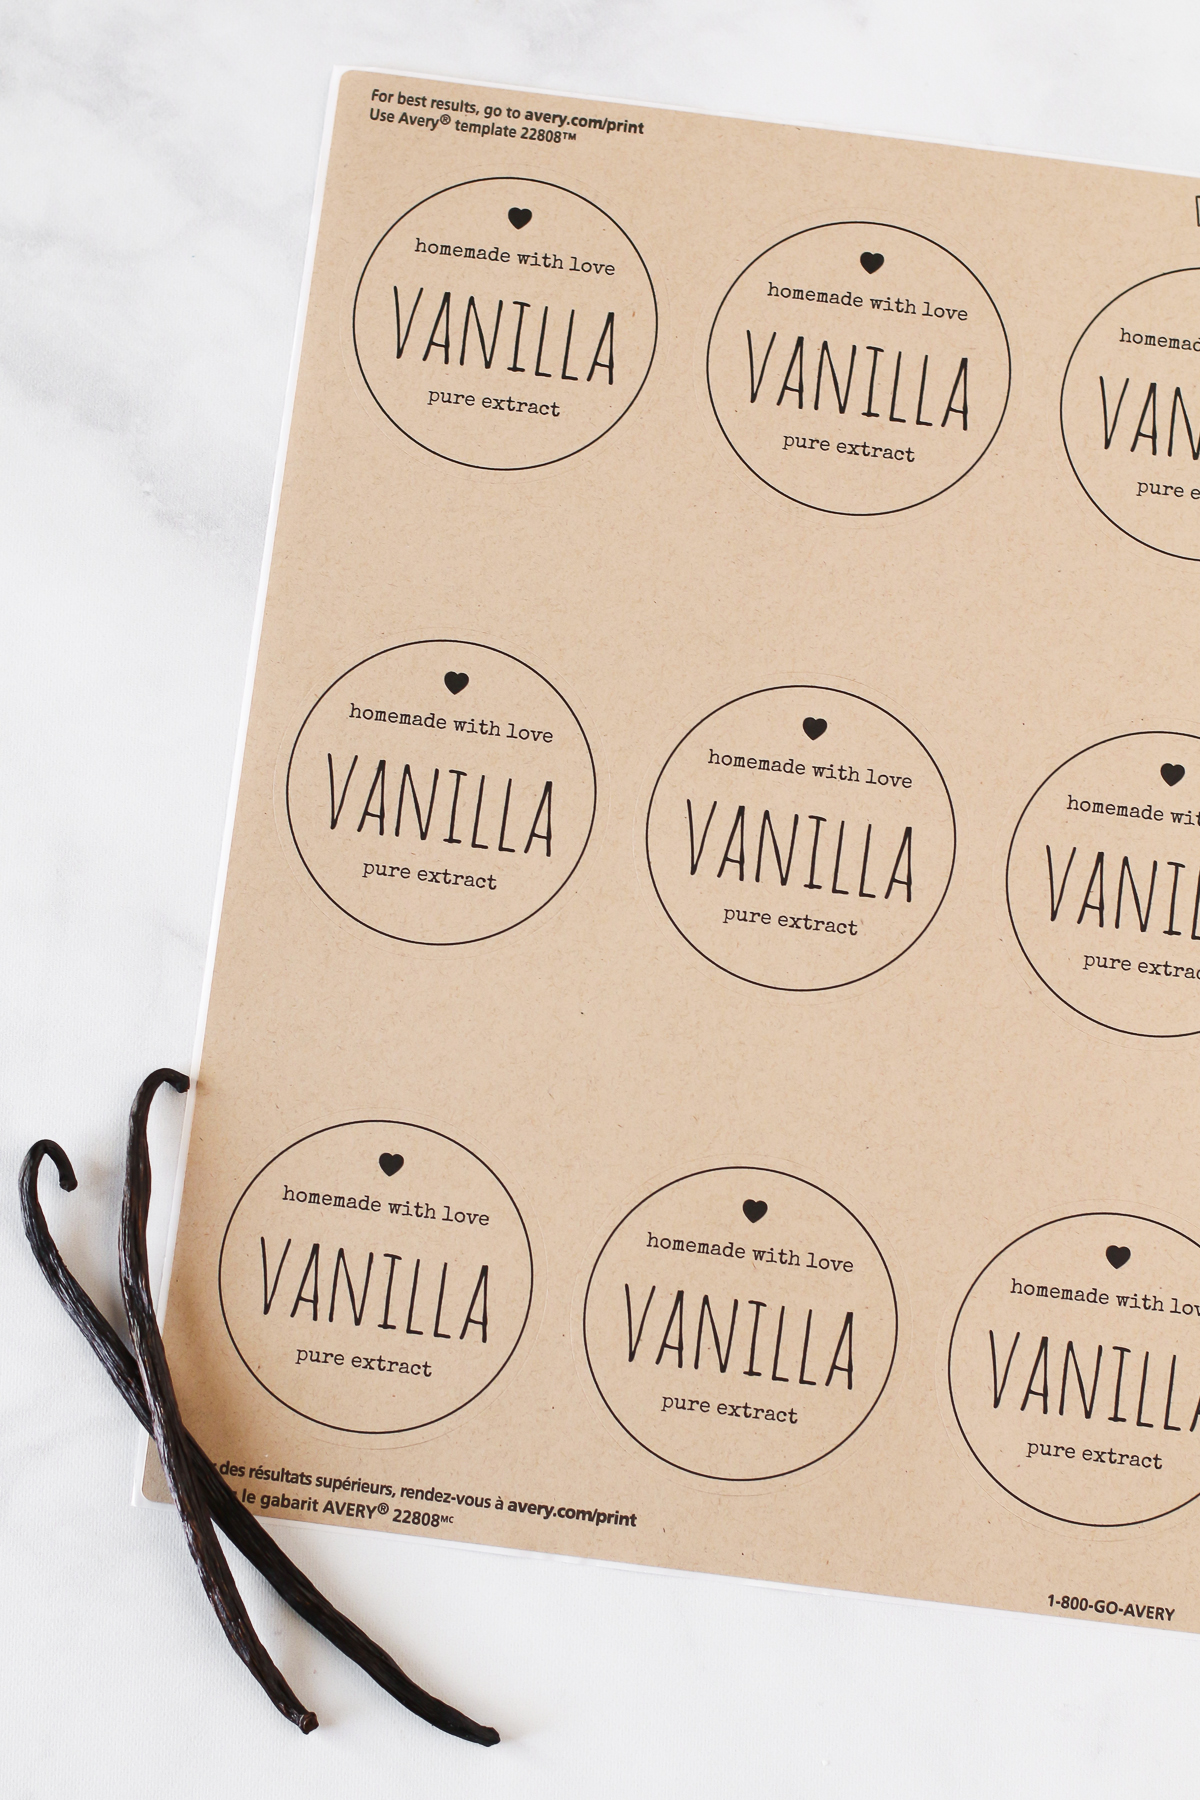 I went ahead and made these FREE vanilla extract labels for you {cause I’m cool like that}. I used the 2 1/2-inch round Avery labels in the brown kraft paper. I love the look of the kraft paper, but you can also use the white ones or just print them on cardstock and glue to the bottles. Click here for the printable labels. They really do add that personal touch, don’t you think?
Now it’s time to start making some vanilla extract! I’ve given you all the tips and the supply list you need. Your family and friends will think you are pretty awesome when you give them a bottle of homemade vanilla extract for Christmas!
- 1.75 liters Vodka {best prices are at Costco!}
- 12 vanilla beans {grade B works great for making extracts and is less expensive}
- 12 4-ounce amber glass round bottles with caps
- 2 1/2-inch round printable labels {I prefer the brown kraft paper}
- bakers twine {sometimes you can find it in dollar bins at Target}
- Clean glass bottles and caps. Allow to fully dry.
- Cut a slit down the middle of the vanilla bean, exposing the beans. Then slice vanilla bean in half. Place both halves into 4-ounce bottle. Repeat with remaining bottles.
- Using funnel, fill each bottle with vodka. Place lid on top and screw on tightly. Wipe down sides of bottle if any alcohol spilled over.
- Place labels on jars and tie tops with bakers twine {if using}.
- Allow bottles of vanilla extract to rest for about 8 weeks before using, to fully develop it’s flavor. Shake bottles every few weeks.
This post contains affiliate links. If you purchase items through some of the links, I earn a small commission off the sale at no extra cost to you. Helps keeps the recipes coming and the blog up and running!
Leave a Reply